What Makes a Village Scene
Introduction
This list of checkpoints should aid you in creation of village scenes and provide you with an insight into what we pay attention to when creating village scenes.
Navigation Mesh
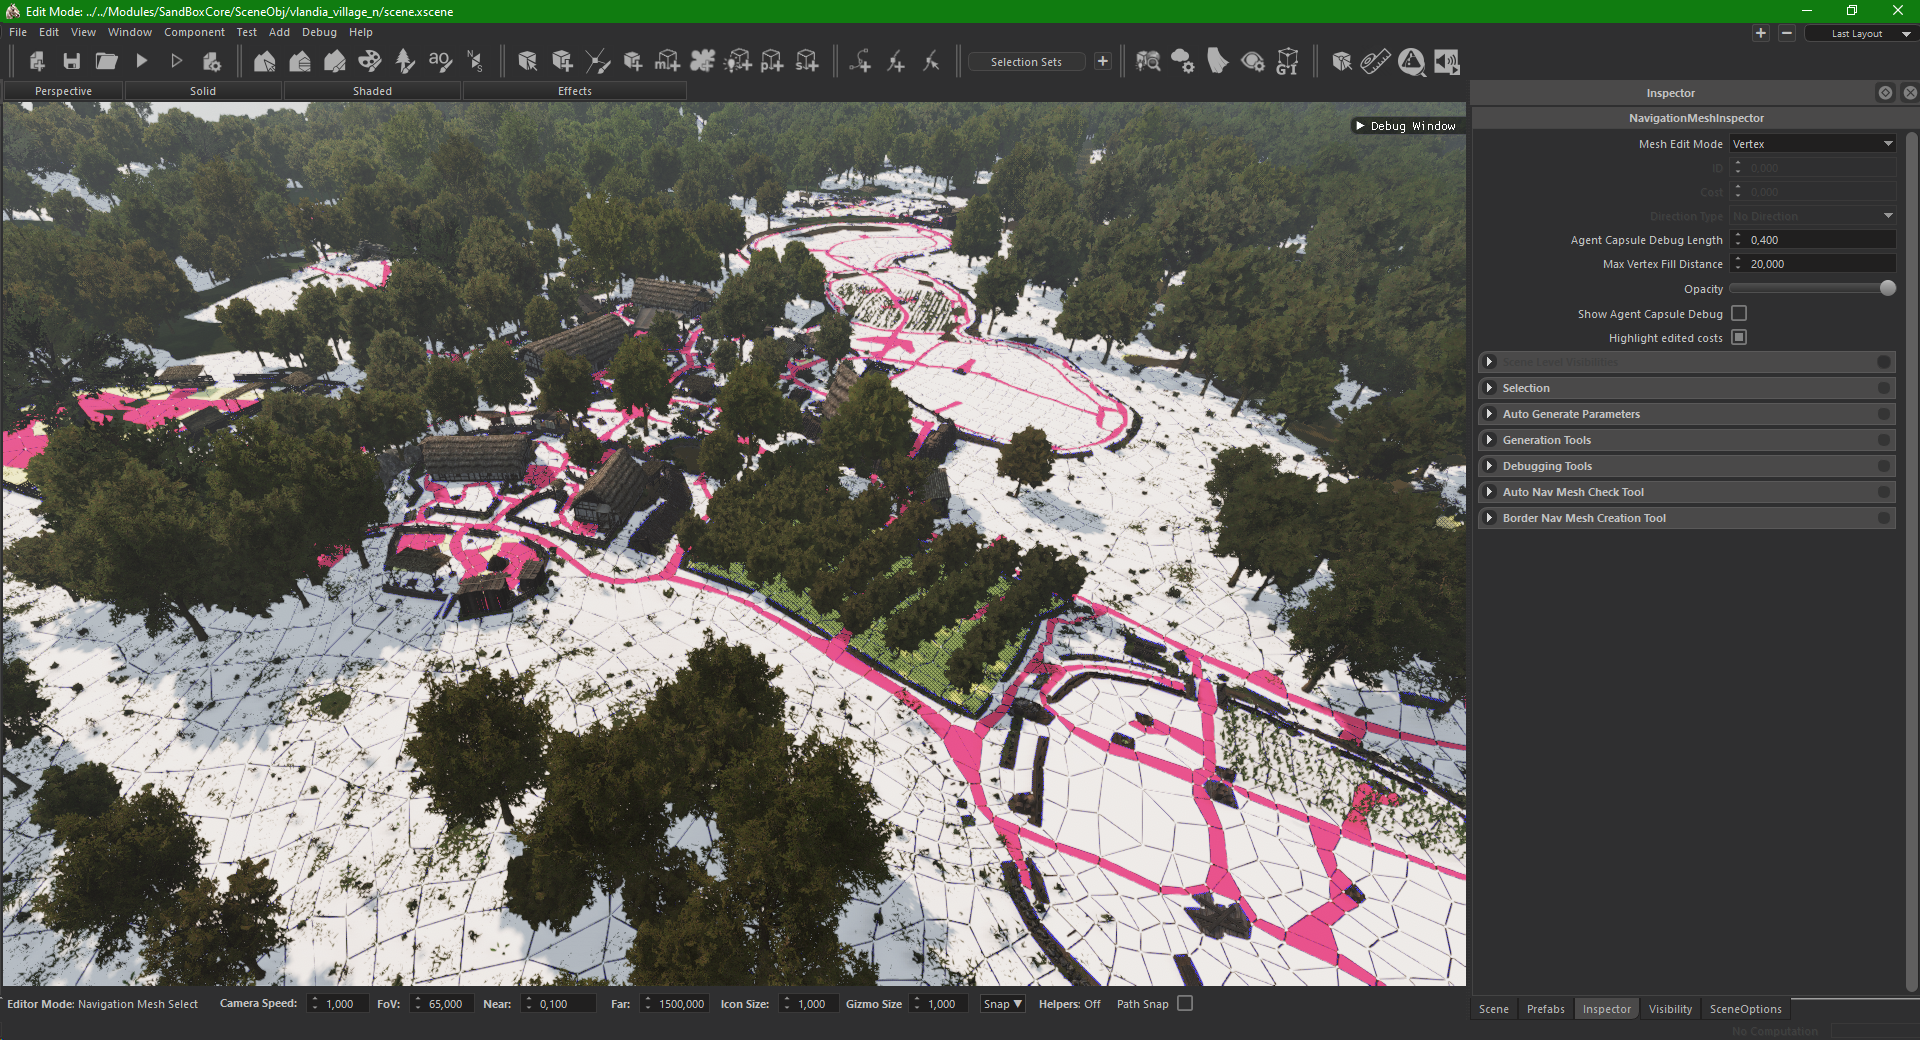
- Navigation mesh consists of triangles and quads. It is used by the AI for pathfinding. The global illumination system also uses it to find the visible locations of the scene.
- Keep in mind that the navigation mesh faces should not be too far away from the physics below it. The distance should at 1.5m maximum.
- The faces can be labeled to give cues to the agent spawning and the navigation inside the scene.
- In order to make the agents follow roads, we label the faces on top of the roads with the ID 2.
- Note that all of the agent spawnpoints should be connected by navigation mesh faces with ID 2.
- For the animals, navigation mesh ID 3 can be used. Typically, these faces are kept within separate islands in structures like ditches. The animals will then roam inside those islands only.
- Change the ID’s of all other faces to 1 (from 0).
- Remember that the agents will use the navigation mesh ID’s 2. In order to create realistic pathing (on roads), scene designers should place a Navigation Mesh Deactivator (prefab name is Navigation_Mesh_Deactivator). It can be placed anywhere in the scene. Its purpose is to disable the ID 1 faces in civilian modes. The DisableFaceWithID variable of the script should be 1.
- For the animals, the variable “DisableFaceWithIDForAnimals” within the same script should be 3.
- Make sure the faces are fairly equal in size outside of the village area / where troops will maneuver.
- Make sure there are no disconnected navmeshes.
- The better the navmesh, the better will AI perform on it. Always think about that there might be big field battle inside the village. So try to avoid having many enclosed areas like a pig farm with only 1 entrance (for example: throw over some fences to create more entries)
- Avoid having big areas accessible to the player but not AI. Player will be able to shoot AI from places without navmesh.
- Use “_barrier_ai_x” to prevent AI from falling off from cliffs or getting stuck in tight areas (like a market booth) off the navmesh.
Spawn Points
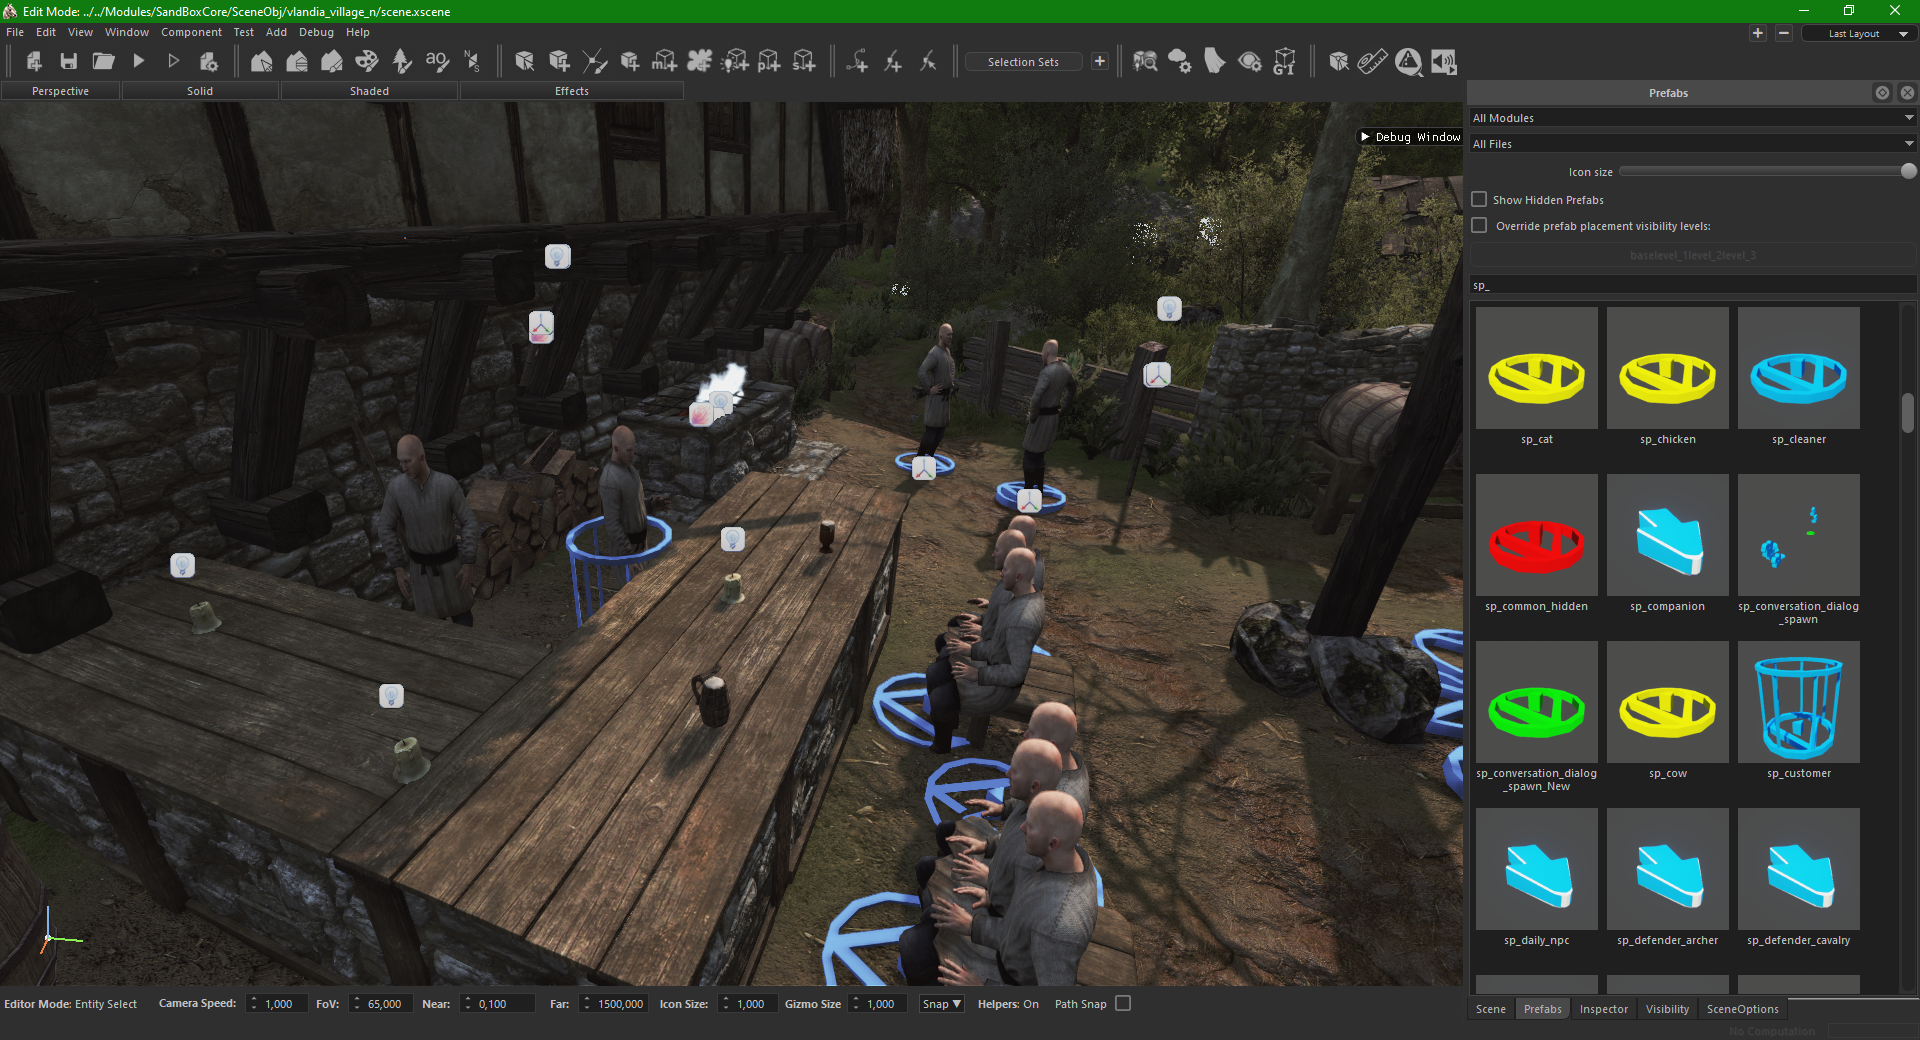
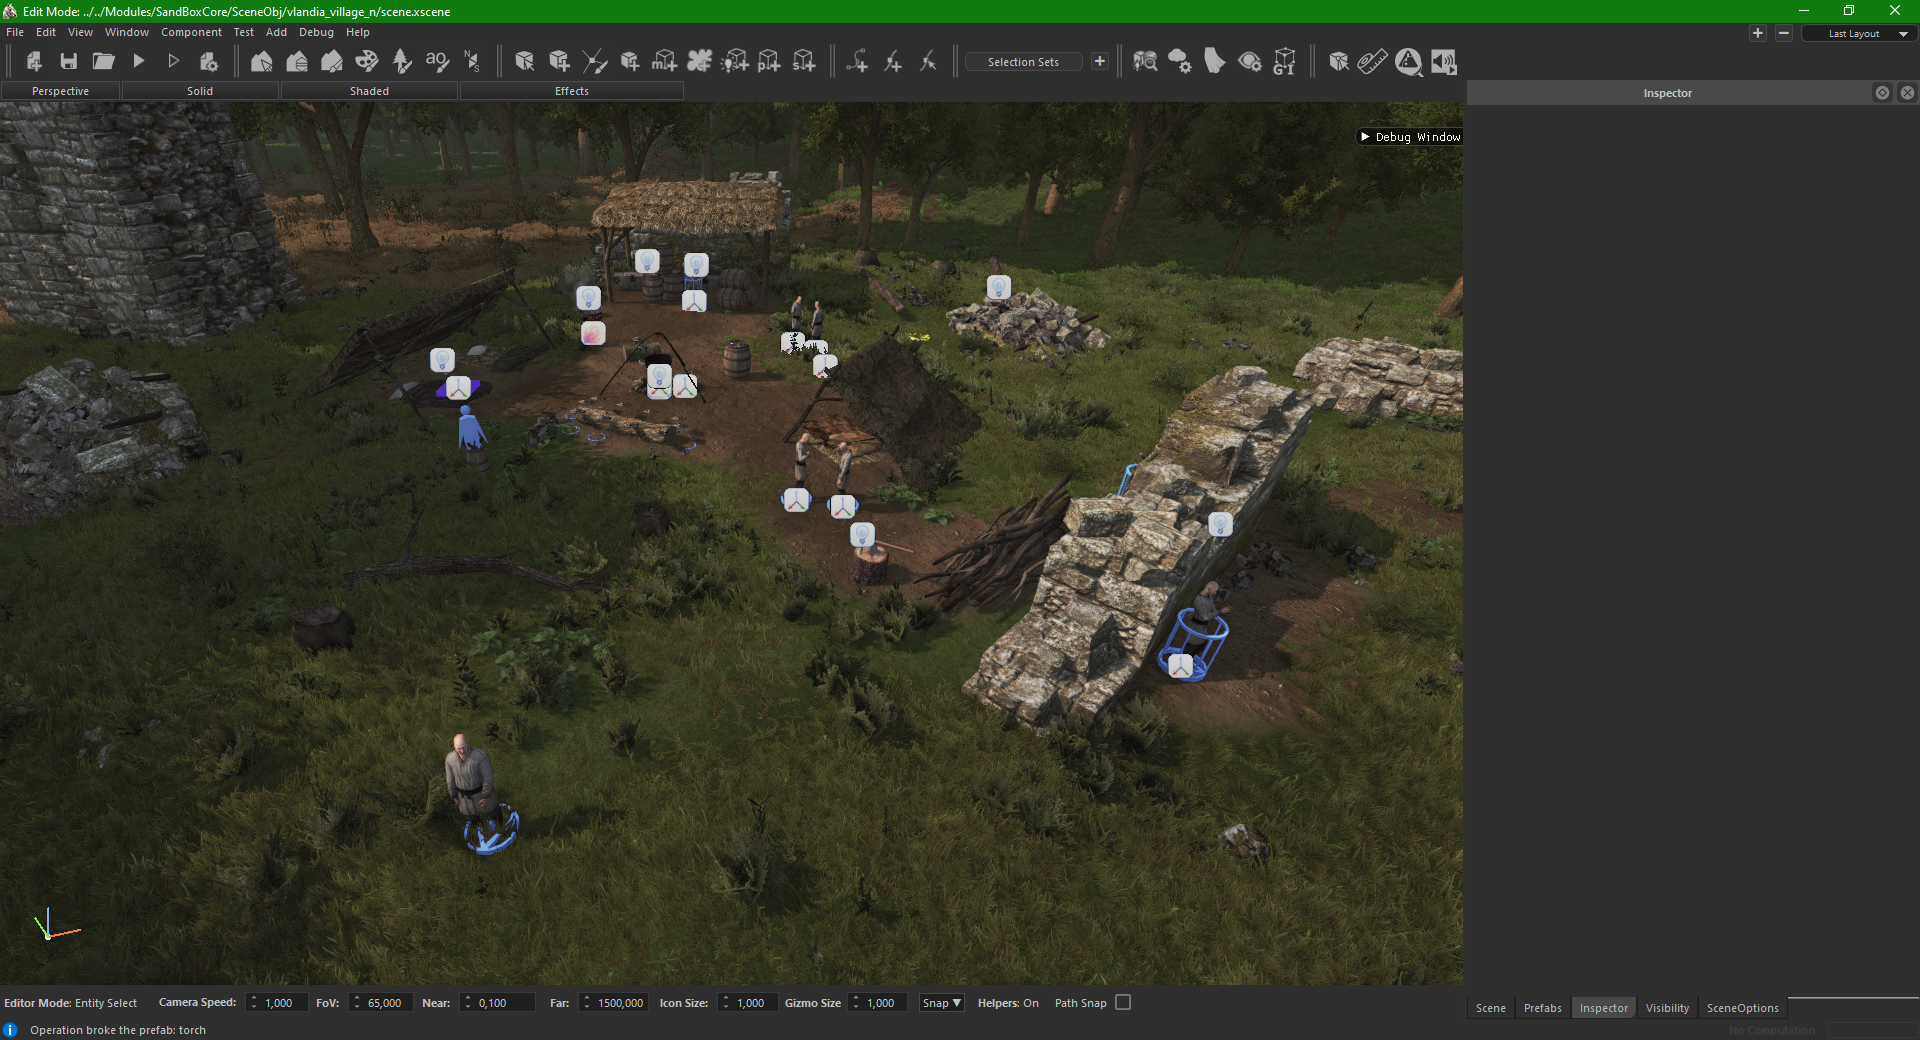
As noted before, all spawn points need to be placed on top of navmesh (ID 2) and inside the soft borders. Remember that some prefabs (like chairs and benches) come with spawn points attached to them. If the spawn points aren’t compatible with the village mission, they will most likely crash the game or cause errors. One example is “sp_blacksmith_with_smithing_machine”. The most important thing about the entry points are their tags. They decide what type of NPC will spawn there. For your own sake, don’t play around with those tags too much and keep them as they are from the prefabs.
Player Spawnpoint
- Prefab: sp_player.
- Make sure it’s placed in a location where it can be seen from or at least has a clear path leading towards it. Do not place it too far away.
- There should be a navigation mesh under the spawnpoint.
Battle Spawnpoints
- Prefab: Sp_battle_set.
- Make sure the attacker and defender spawns aren’t too close to each other or at least don’t have direct line of sight to each other.
- Make sure to move the reinforcement point out of sight as best as possible while still not being too far from the front lines.
- Make sure all spawnpoints have some empty space around for troops to properly spawn in.
Conversation Spawnpoints (civilian)
- Prefab: sp_player_conversation.
- Conversation points define where the agent and the conversation partner spawn when the player enters the village via the “Talk to Notable” button from the World Map.
- Make sure they have a nice vista but keep them relatively close to the village center.
Animation Points (civilian)
- Prefab: sp_npc_x.
- These are used for normal villagers. You can use around 40 positions.
- They define the positions in scenes where the villagers will spawn and walk to.
- Make sure they are nicely spaced throughout the village and close surroundings.
- Villagers will wonder along paths to get to them.
- If the paths are too long you might find your villagers wondering around at all times with nobody actually doing anything. Try to avoid long distances and place points close to the main paths.
- Placing more or less spawnpoints doesn’t influence how many villagers will populate the scene.
Rural Noteable Spawnpoints
- Prefab: sp_notable_x.
- The number of prefabs should be around 6.
- These are the spawnpoints for the notables of the village (quest givers) and lords.
- Make sure they are in a prominent location of the village or generally places where village elder / lords would hang around.
- You can check the Debug Window (documentation will cover that) to make sure you have placed the correct notable positions.
- Go to the “Scene Entity Check Tab” and tick the “NPCs” Box and count.
Bandit Camps
- Prefab: common_area_x.
- Each village scene has 3 Bandit Camps outside the village (place 3 prefabs), used for scene quests.
- Use the same spawns as for normal villagers (~15 per camp). Try to not have them do chores like farming.
- You can also use patrol spawnpoints: sp_guard_patrol_simple, sp_guard_patrol”.
- All spawn points in the radius will spawn bandits instead of villagers.
- You can increase the radius by scaling the common area prefab.
- Use civilian animation points as spawn points for bandits, some suggestions: “sp_npc_wait_wall, lookout, sp_npc_argue_set, sp_npc_wait”.
- Make sure that there is some indication to where they could be so that the player has a chance of finding them (especially at night).
- Don’t place them too close to each other.
Animal Spawnpoints
- Prefab: sp_animalName.
- Use “DisableWandering” in the AnimalSpawnSettings script, to stop animals from walking around your scene.
- Overall its best to put it on all bigger animals like cows and pigs if they aren’t there to wonder around.
Tactical Region
- Prefab: TacticalRegion.
- Used to tell the AI where there are relevant bigger regions (forests, hills etc.).
- AI will position themselves inside the radius or avoid it.
- Don’t overuse it, stick to ~5 (make sure there is some variety).
Tactical Positions
- Prefab: TacticalPosition.
- Used to tell the AI where there are relevant smaller positions (like choke points between buildings, cliffs for archers and so on).
- AI will position themselves according to the rotation of the Prefab and in regards to the width given by the script.
- You can use them quite often.
- The higher the slope the “better” is the position.
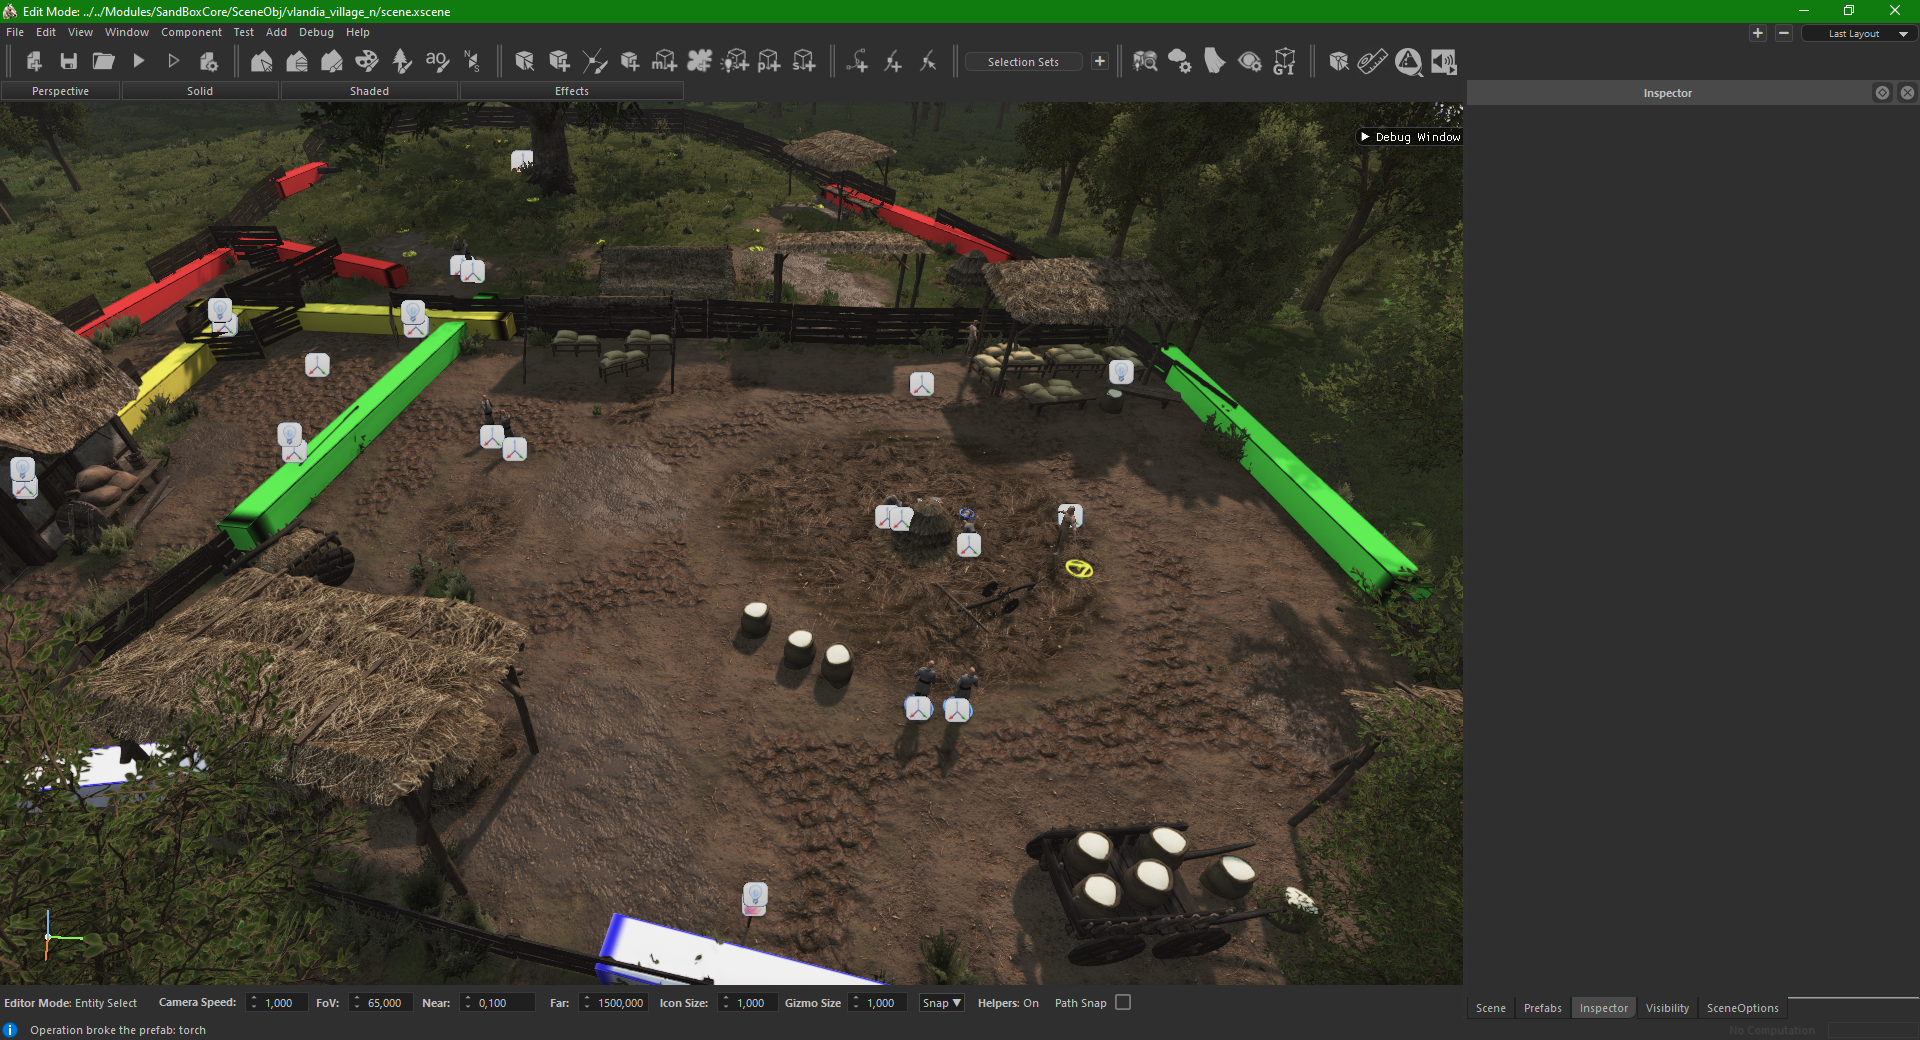
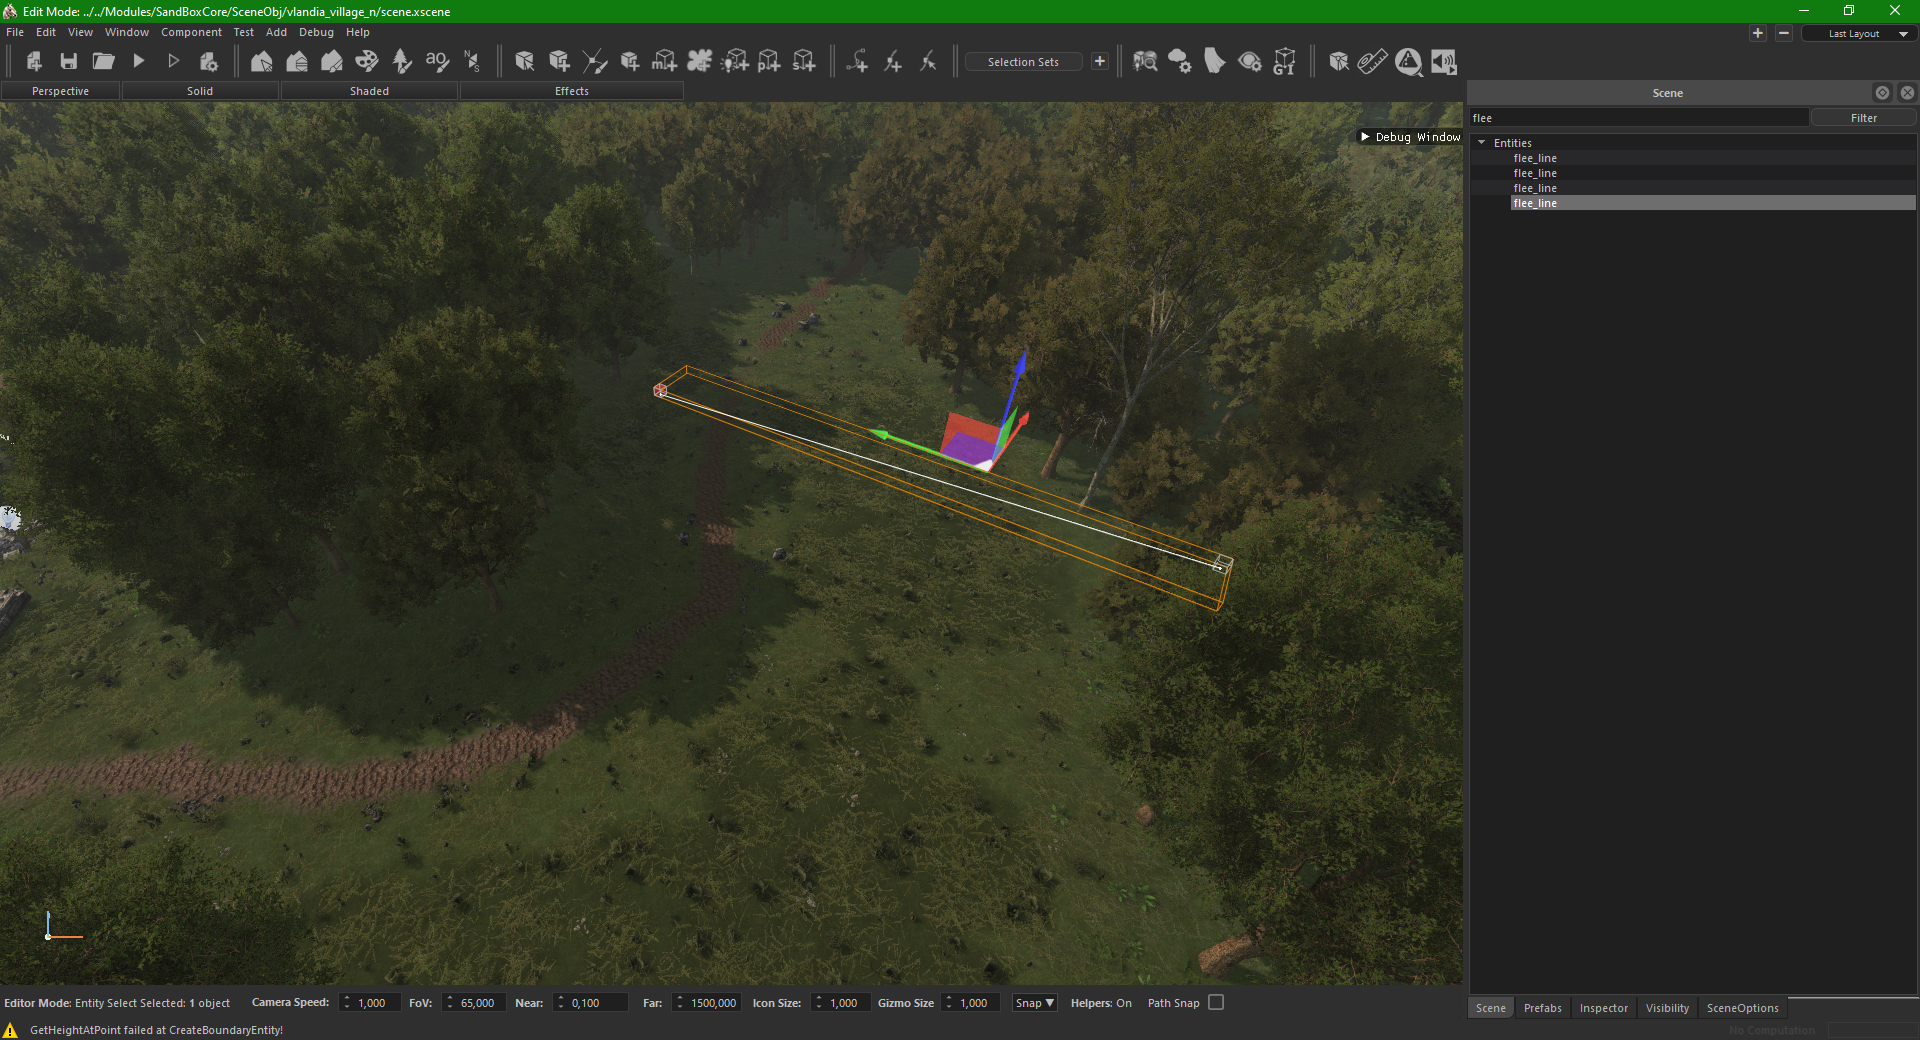
Flee Positions
- Positions to which fleeing troops and also horses will run away too.
- Make sure they are inside the Soft Border and that there is a navmesh below them.
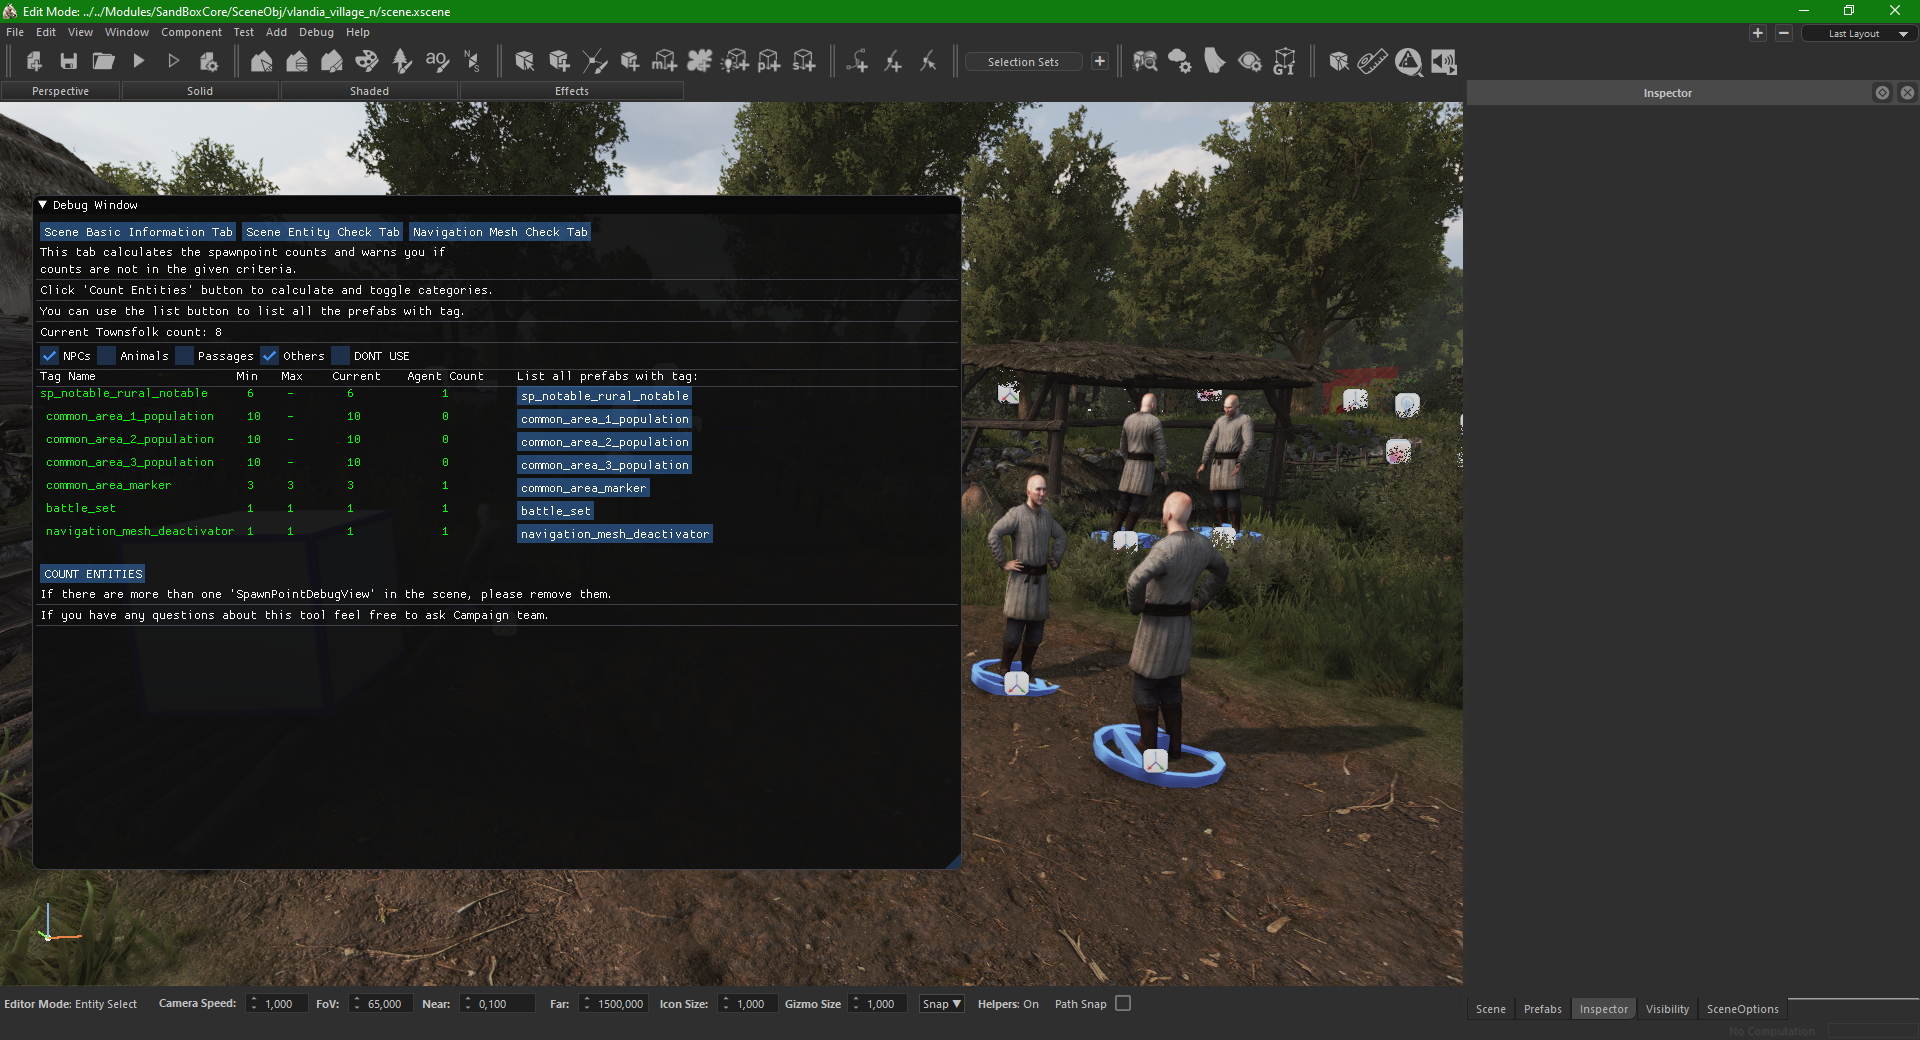
Debug Window
- Prefab: SpawnPointDebugView.
- There is a built-in debug tool which can be enabled by adding the above prefab to the scene. Place the prefab anywhere in the scene and activate the window with the check box in its script.
- This prefab opens a little debug window in the editor that helps you make sure you meet the requirements for the mission (like spawn points, navmesh).
- In the “Scene Entity Check Tab” you can count your Entry Points and make sure you have placed enough of them (or too many).
- In the “Navigation Mesh Check Tab” you can make sure all your Entry Points are connected to the navmesh properly.
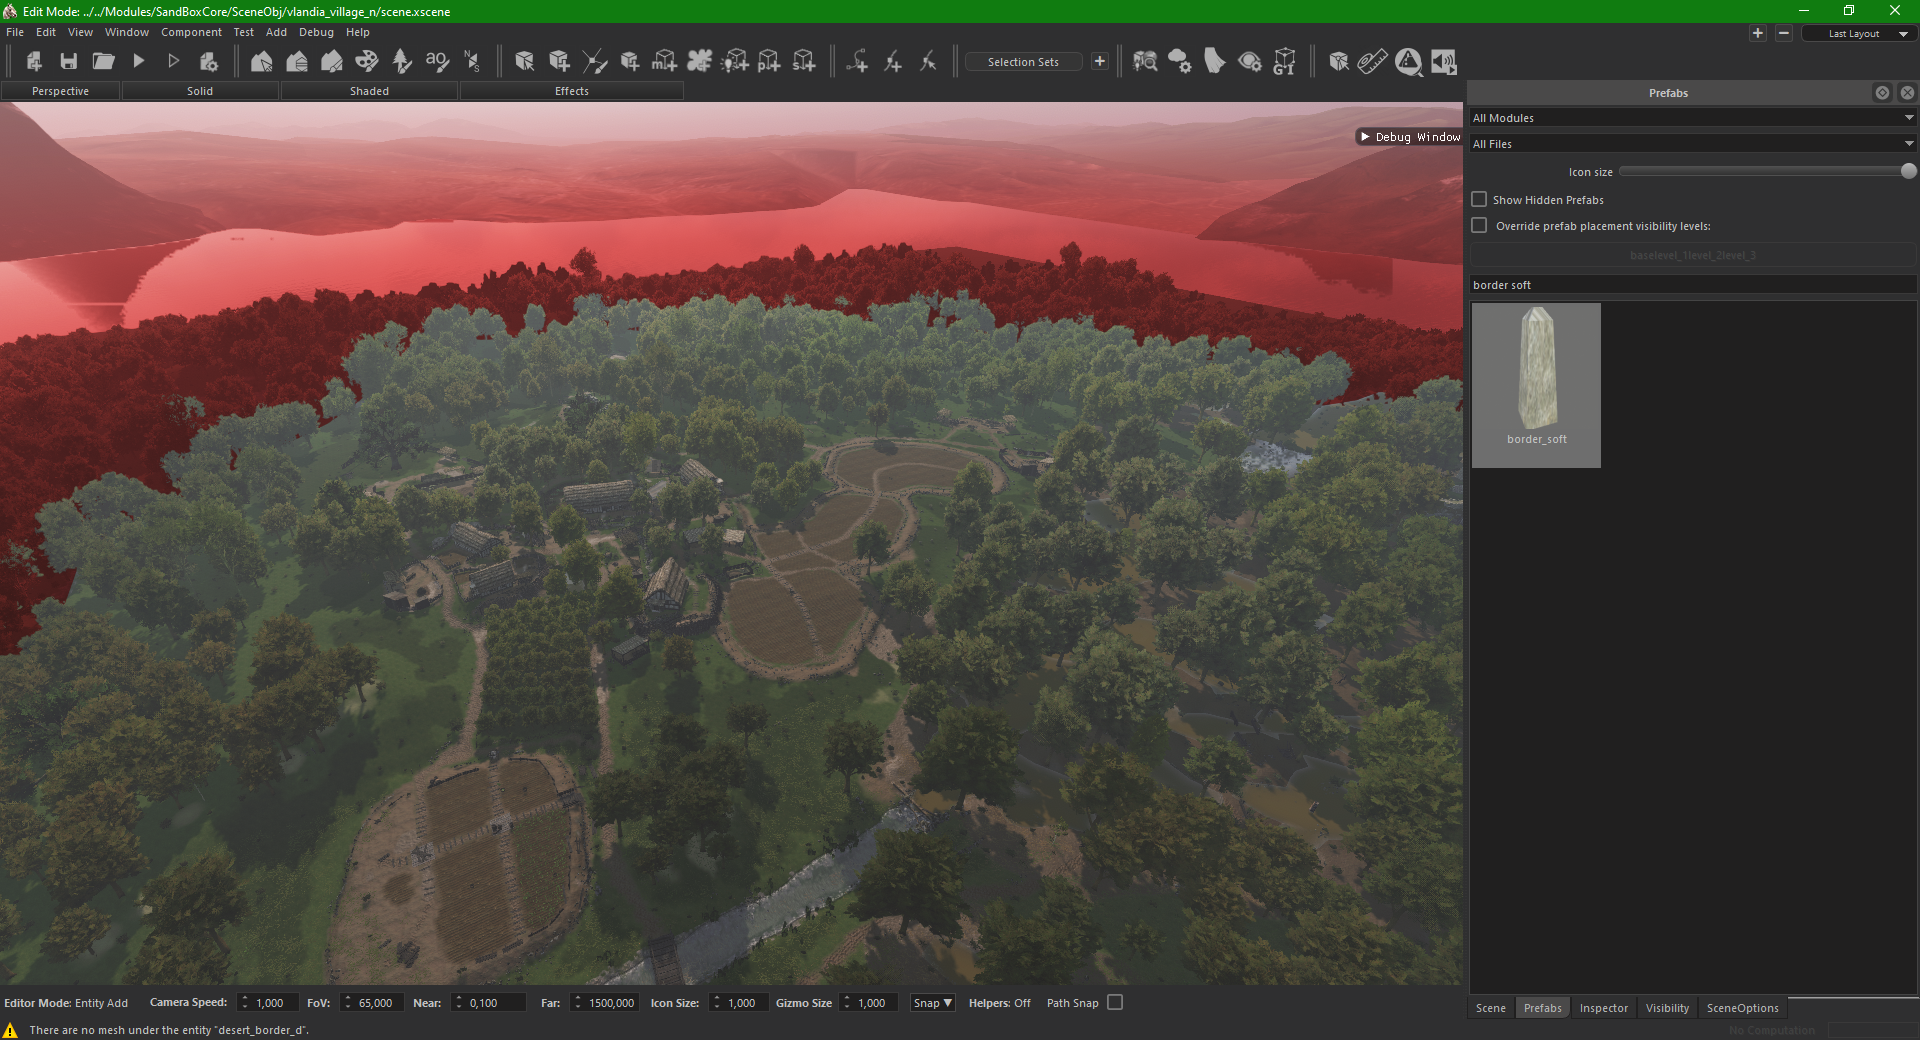
Soft Border
- Prefab: border_soft.
- They define the red borders of the scene.
- When placed they form a polygon where the 2 edges connect between the closest two border entities (but never more than two).
- To check the current borders, go into the “Visibility Window” → “Visibility Masks” and enable “Borders”.
- After crossing them the player has a few seconds to return inside the map borders, make sure this can’t be abused somehow.
Sounds
Master Ambient Sound
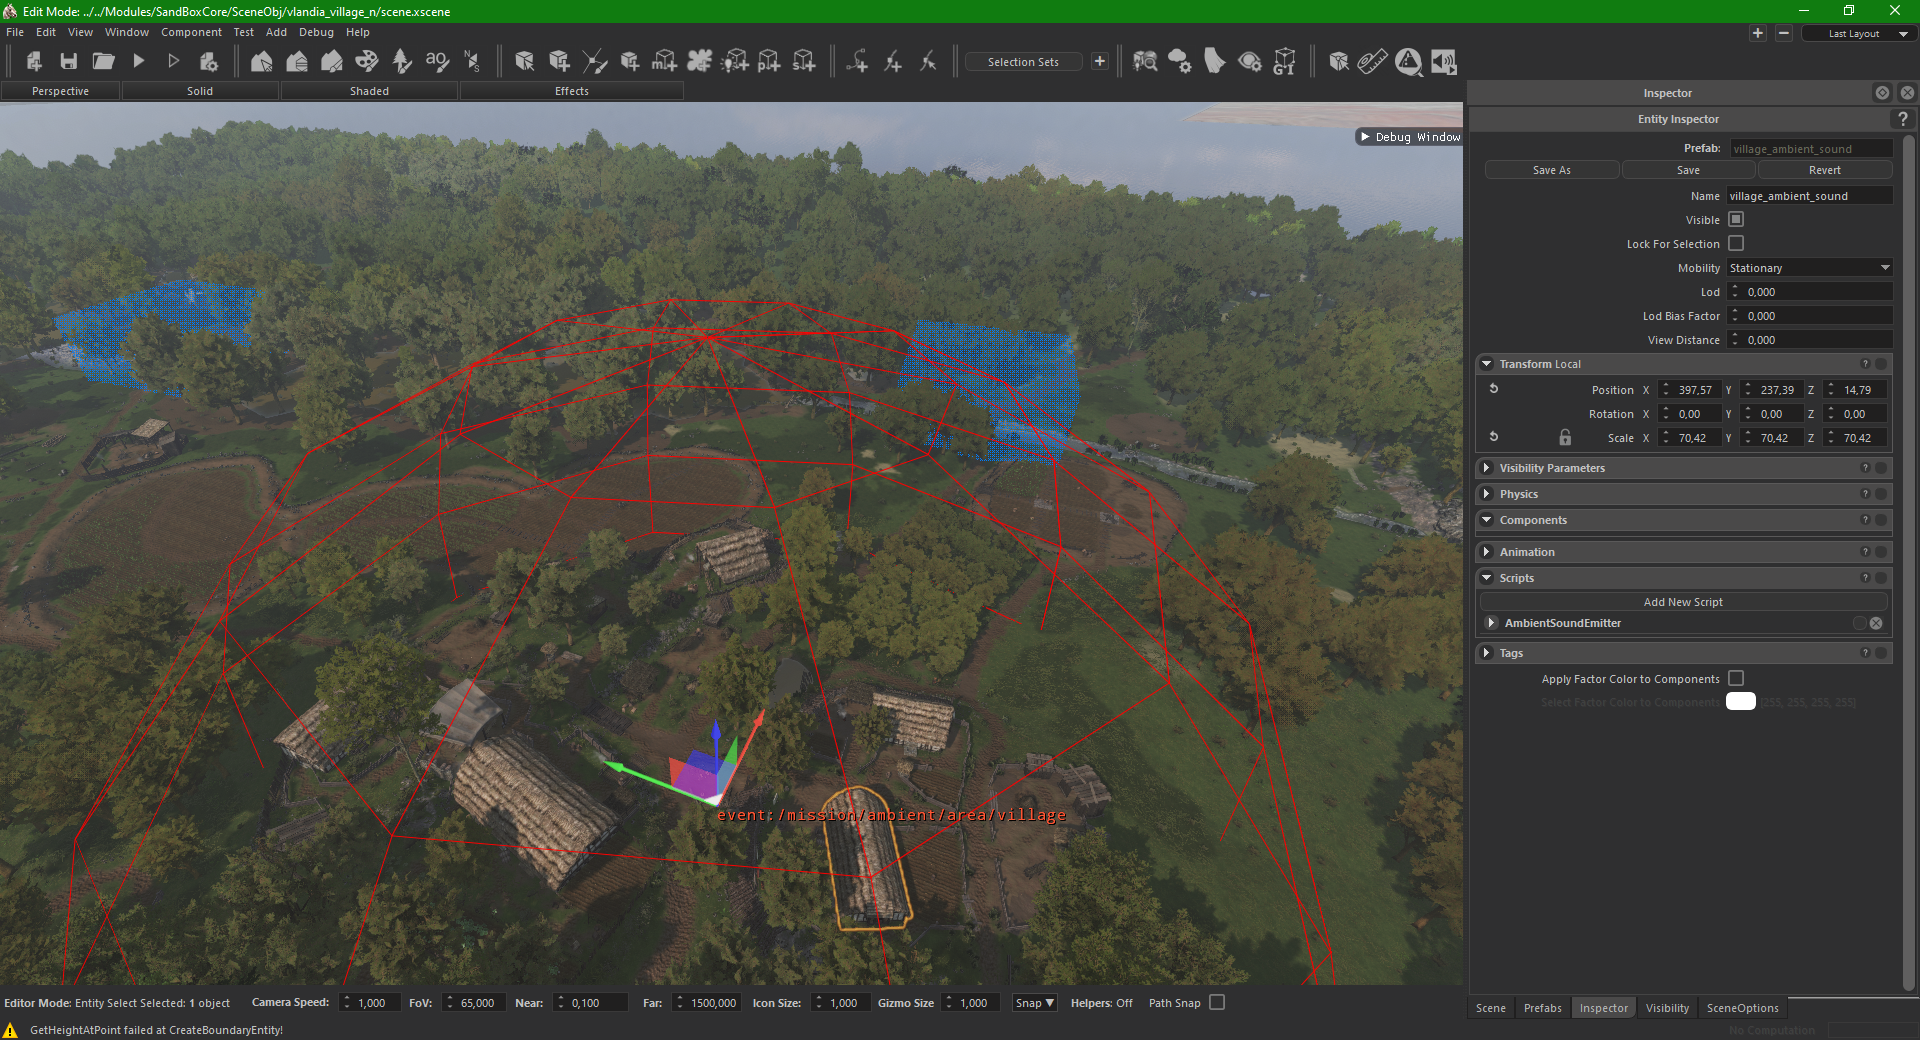
- Prefab: x_ambient_sound.
- Choose a mandatory master ambient sound.
- You can place the prefab for the mandatory ambient sound anywhere.
- Make sure it has the “Is Master Sound” enabled.
- Make sure it doesn’t have the “Is Triggered” enabled.
Additional Ambient sounds
- Used for bigger areas (like forests).
- Needs to have the “Is Triggered” bool.
- To see how far it reaches, from the “Visibility Window” enable “Sound Entities” under the ““Visibility Masks” group.
- To change their reach, you can scale them like you would do with other editor entities (using the “b” key or the gizmo).
Reverb
- There are different prefabs for each use case: reverb_x.
- Adds reverb effect to any sound spawned inside its boundary.
- They are generally used for tight or underground areas.
- You can place these in tight alleys between taller buildings, cliffs, in caves or in dense forests.
- Needs to have the “Is Triggered” enabled.
Detail
- Used for small details.
- Make sure “Is Triggered” is disabled.
- Place them where ever you want them to play.
Moving sounds on paths (for rivers and such)
Sometimes it’s useful to move sounds along a coast line or a river. The below technique is more performance-friendly and more precise than placing multiple sound entities along your river for example.
- Place a path on the river. For more information, see Path Editing.
- Add the sound to the scene.
- Place any additional Ambient sound as explained above.
- Add the “path_converger” script to your ambient sound’s entity.
- Enter the name of your path to the “path_converger”.
- The sound will now follow the path according to the camera position.
Sounds in the Engine
You can check the “MODDING_TOOLS_DIRECTORY/Sounds/GUIDs.txt” file for the list of the sounds in the game. These names can be used inside the script of the sound entities.
Lights
- Have at least one “envmap_prop” in your scene.
- For darker areas like caves use “local_envmap_prop”.
- It will affect the lighting in an area depending on the values of its “ReflectionCapturer” script.
- Make sure the village and bandit camps are nicely lit.
- Take extra care for the conversation points.
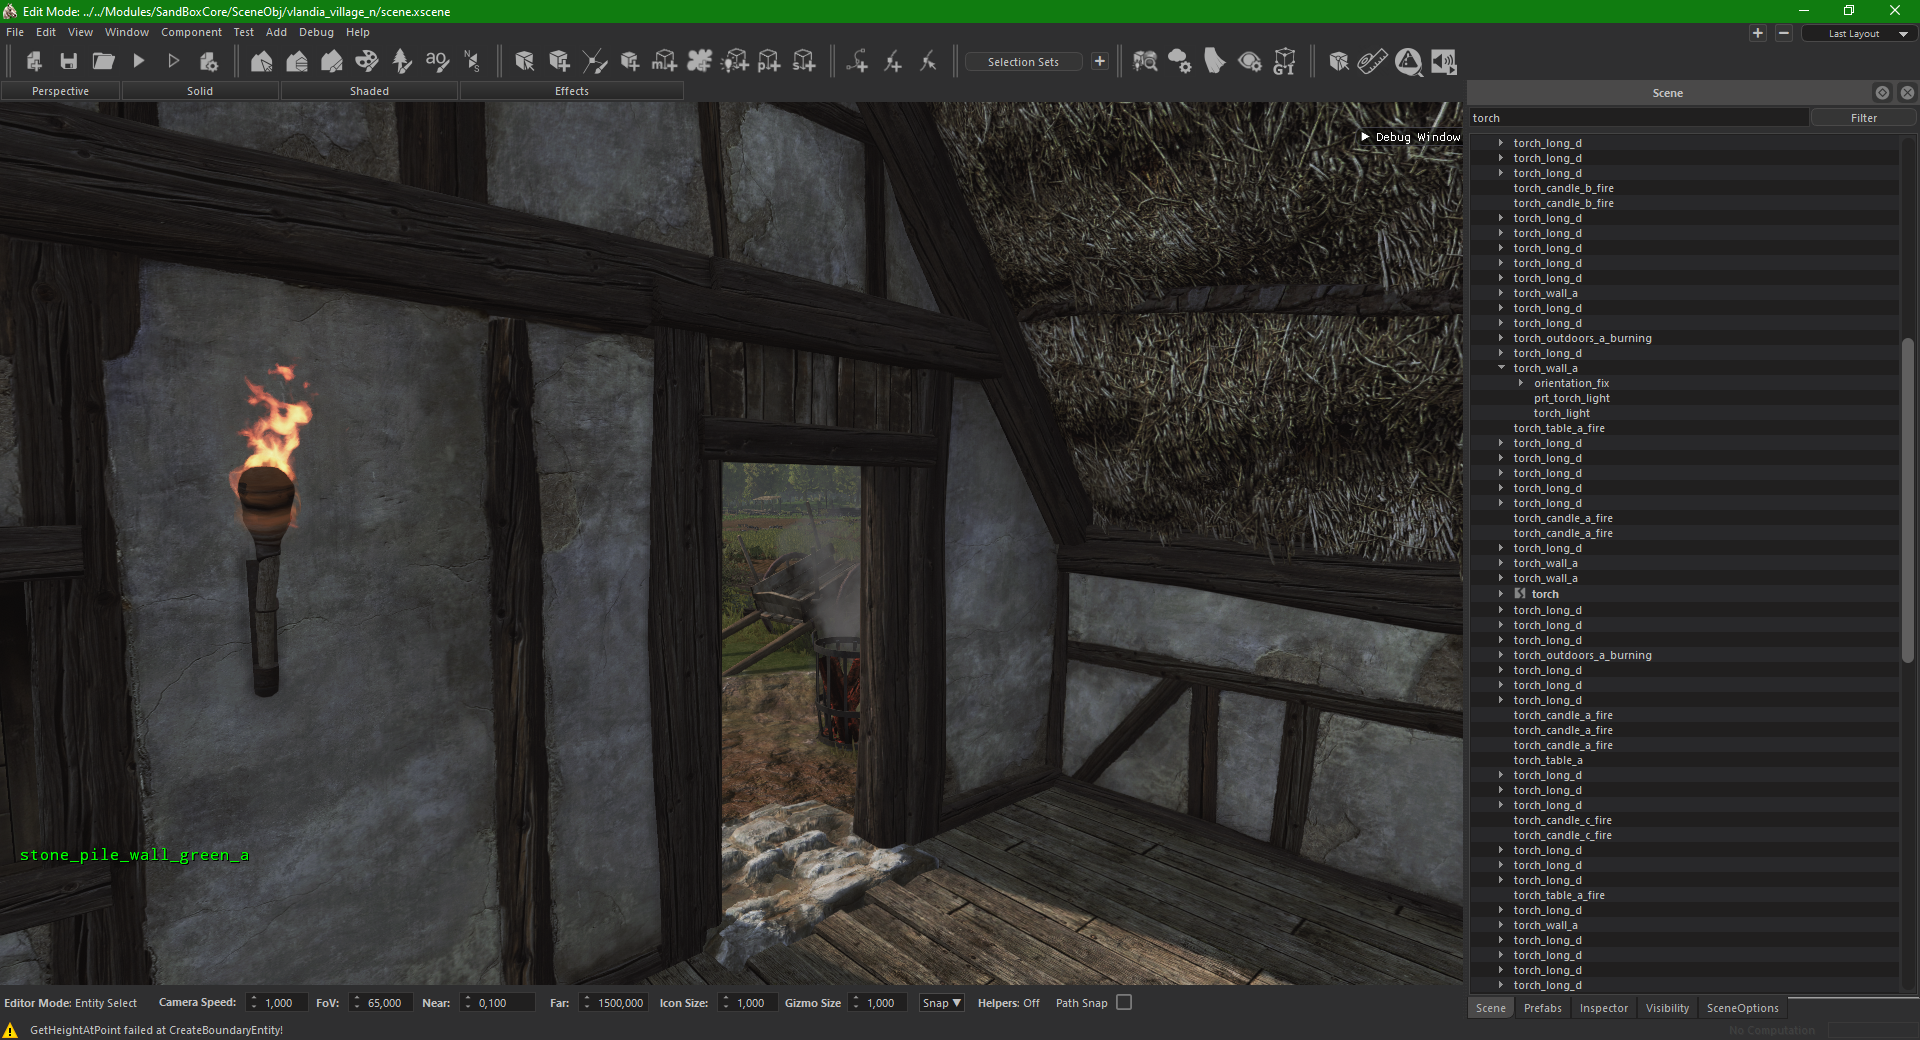
- Use torches and other entities.
- Make sure torches inside buildings and other dark areas have “alwaysBurn” enabled in the LightCycle script.
- Try to avoid placing “artificial lights” without an actual source.
- You can bake the ambient lighting in your scene with the GI system. This will make the ambient lighting much more realistic. For more information, see GI System.
Atmosphere
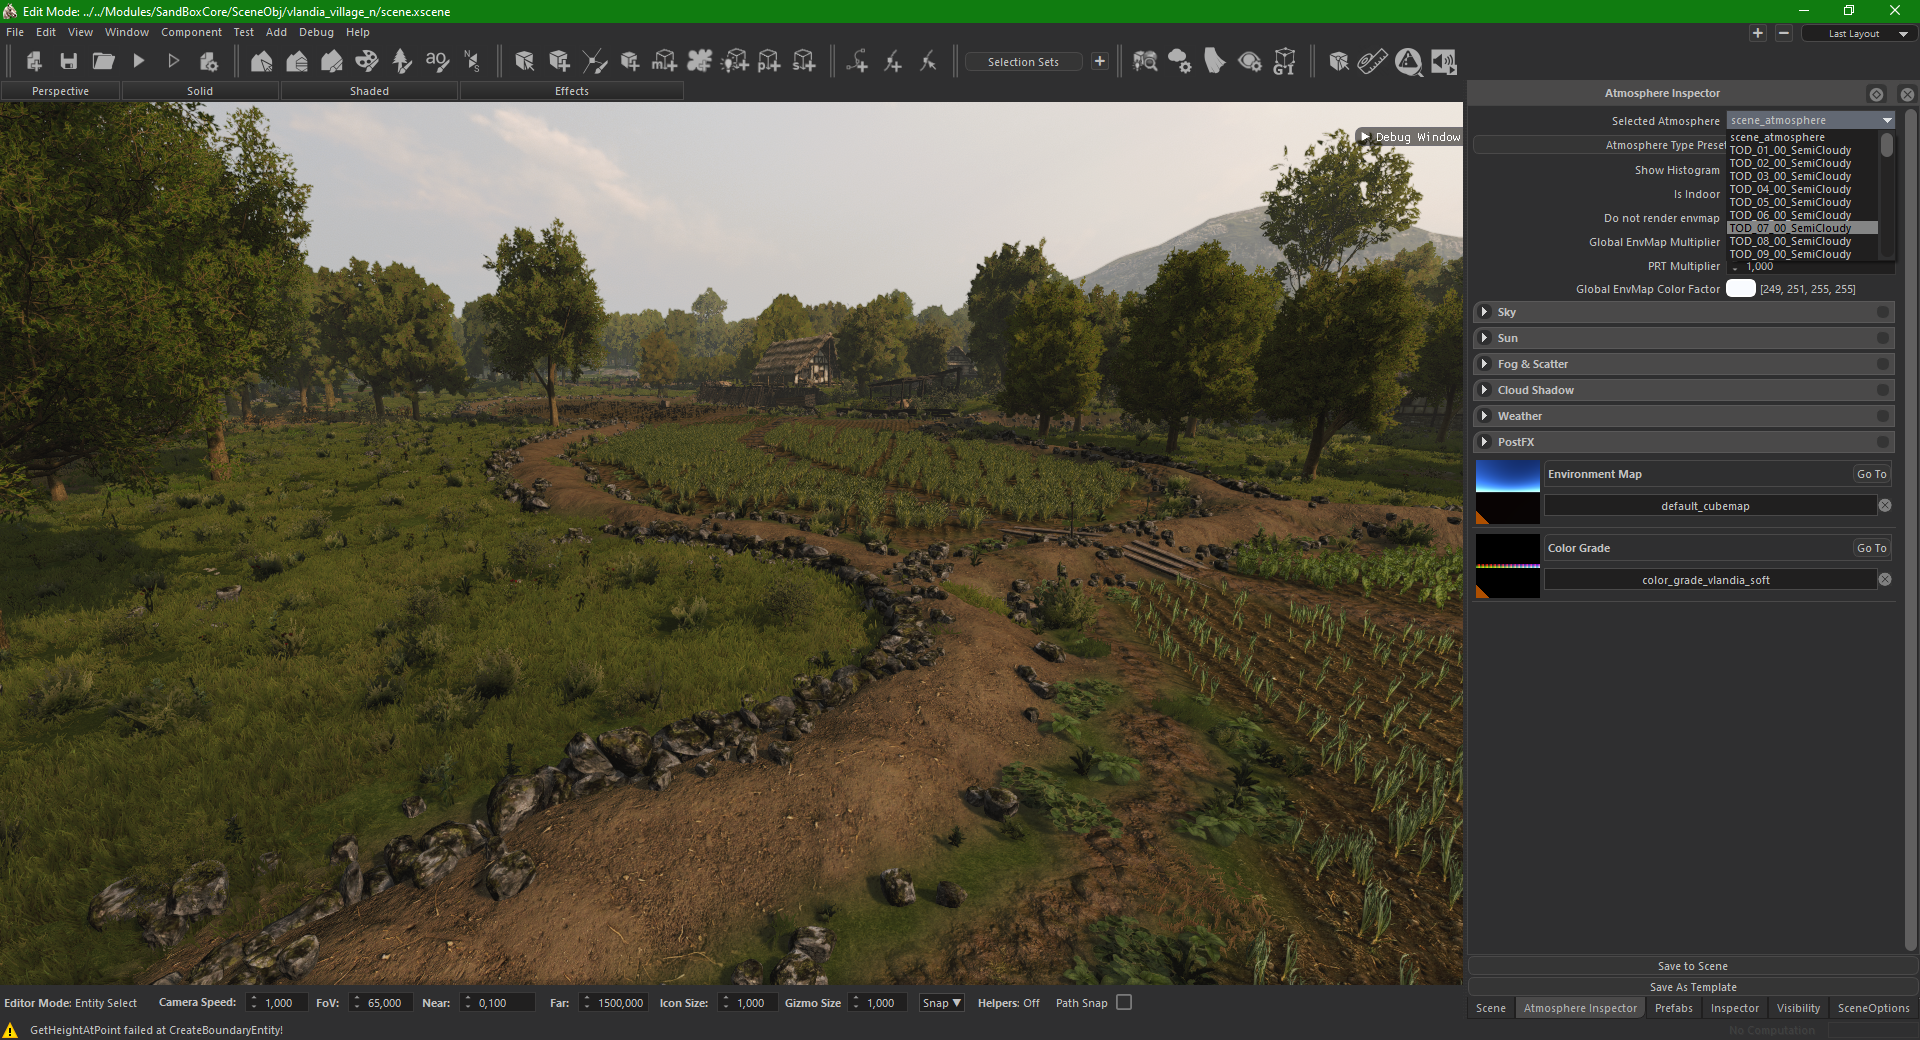
- Make sure your scene works and looks fine with all of the “TOD_x” atmospheres and in all seasons! (since it will be tested with those).
- Choose a “Color Grade” that fits your scene (we suggest using the ones for the faction your scene is for, like: “color_grade_empire_soft”).
